How to Hang Acrylic Signs: My Real Experience
Choosing the Right Mounting Method
The first thing I learned is that not all walls are created equal. My sign was 20" x 60" and half an inch thick, mounted on an uneven brick wall. At that size, the weight is not extreme (about 25–30 lbs), but it’s enough that you can’t just throw a couple of screws in and hope for the best.
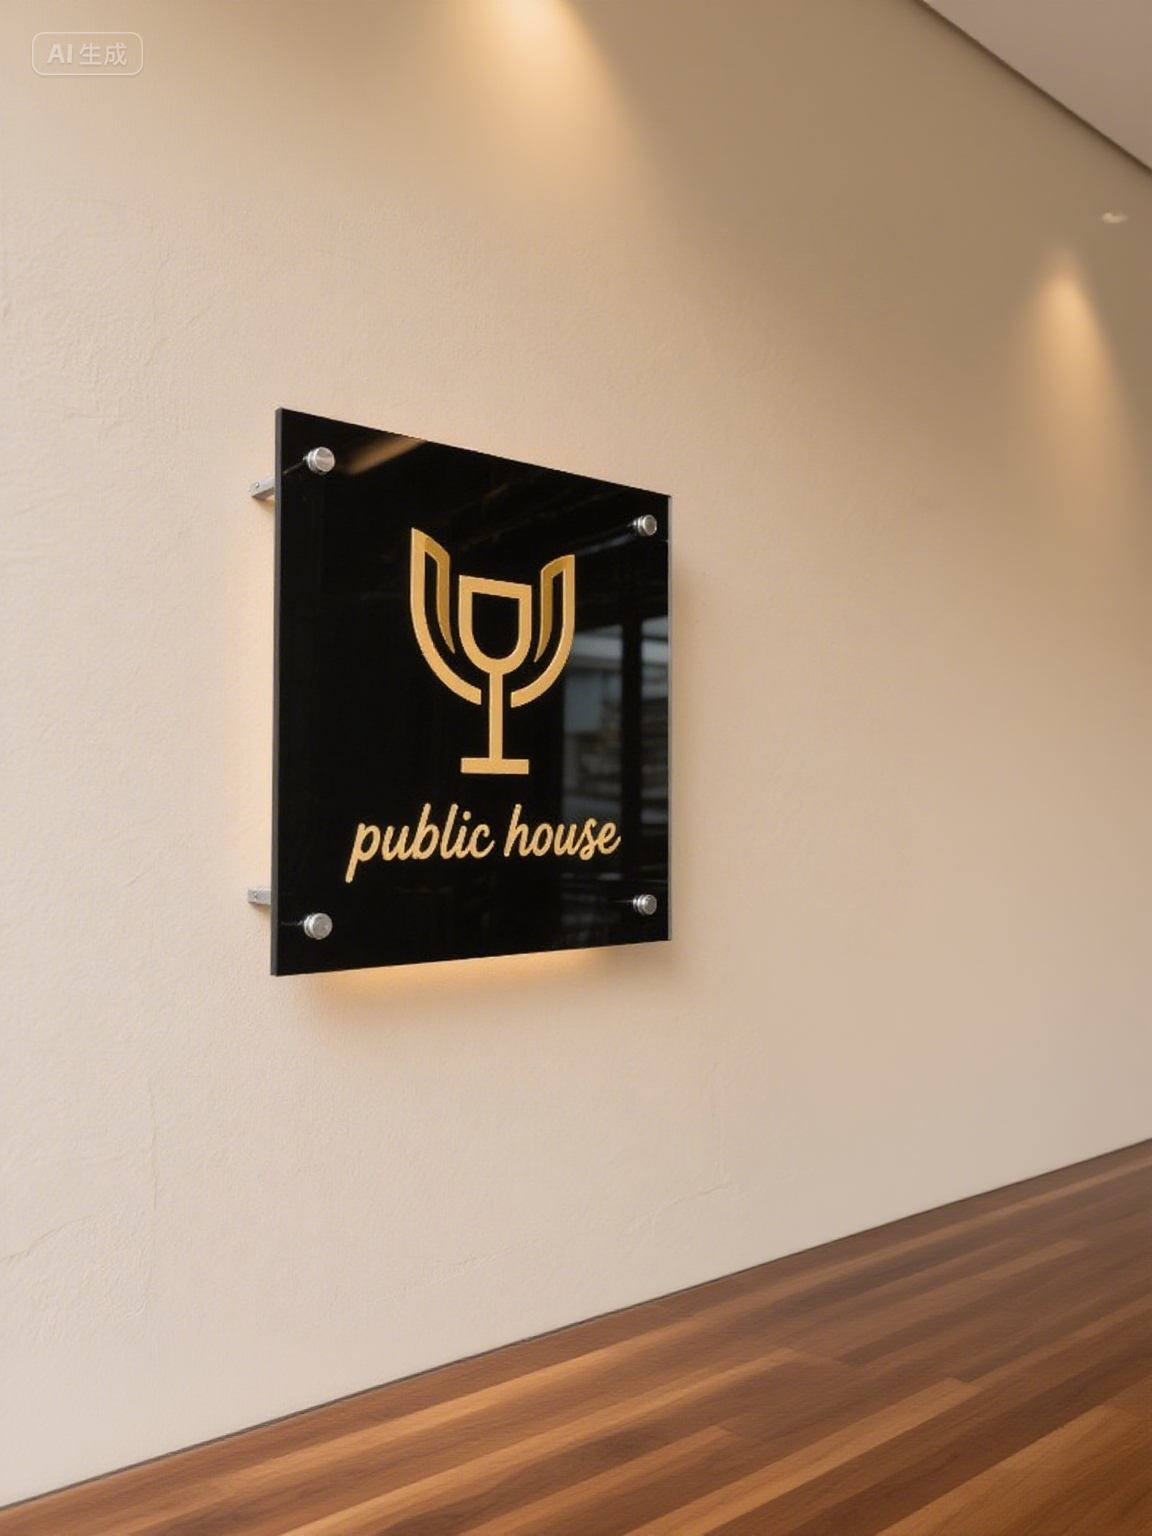
After some research (and a bit of trial and error), I settled on standoff mounts. These are the little metal spacers that hold the acrylic slightly away from the wall, giving it that floating look. They also distribute the weight evenly, which is crucial for a larger sign.
How Many Standoffs Do You Really Need?
I originally thought four standoffs—one at each corner—would be fine. But the more I looked into it, the more I realized that wasn’t enough for a panel this size. Acrylic has some flex, and with only four mounting points, the middle started to bow slightly.
I ended up using six standoffs—two on top, two on the bottom, and one on each side. This made a huge difference in stability. If you’re working with anything over three feet wide, I’d recommend more than just four.
Negative note: More standoffs mean more holes to drill—both in the wall and the acrylic itself. That’s nerve-racking, especially when the panel is expensive. One slip and you risk cracking it.
Dealing With an Uneven Wall
Here’s where I ran into real frustration. My wall wasn’t smooth—it was uneven brick. With standard standoffs, the barrels all have to be the same length, which meant some parts of the sign didn’t sit flush, and the panel leaned slightly.
The workaround? I used different-length spacers. I painted them to match the wall so they weren’t obvious. It was more work (and honestly, a bit of a pain to measure and adjust), but it made the panel look plumb.
If your wall is uneven, be prepared to do some tinkering. Decorative standoffs look nice, but they’re not as forgiving when you need custom spacing.
Anchors and Hardware
This was another area I overthought. I work with concrete tools, so I had hammer drills and masonry bits ready. In the end, I used 3/8" anchors with threaded rods, which held the weight easily. For most people, heavy-duty wall anchors or sleeve anchors from the hardware store should do fine—just make sure they’re rated for at least 10–15 lbs each to be safe.
Tip: A dab of silicone on the studs before inserting them helps keep them from backing out over time.
The Finished Look
Once everything was finally in place, I stepped back and was genuinely impressed. The floating effect from the standoffs made the acrylic sign look high-end, and the light reflected off the edges beautifully. It was worth the stress, but definitely not as quick as hanging a picture frame.

Pros and Cons From My Test
Pros:
-
Sleek, modern floating look
-
Secure and stable with six standoffs
-
Durable once properly mounted
Cons:
-
More complicated on uneven walls
-
Risk of cracking when drilling holes
-
Requires accurate measuring and good tools
Final Thoughts
If you’re hanging a small acrylic sign, the process is pretty straightforward. For a larger sign like mine, plan ahead. Expect extra standoffs, pay attention to wall surface issues, and don’t rush the drilling. The result is worth it, but I wouldn’t call it an “easy weekend project” unless you’ve got patience and decent tools.
Finally, if you want to customize your own acrylic sign, you can take a look at Kstom.com