


How to Make Custom Wood Name Signs – My Experience
Getting Started – Materials and Tools
To make my sign, I needed:
-
A scroll saw (I used a DeWalt, but any quality saw works)
-
Drill and small drill bits (for letters like “A” or “R”)
-
Poplar wood (lightweight, affordable, and easy to cut)
-
Spray glue and a paper template of the name
-
Sandpaper (220 grit)
-
Optional: paint, stain, or ribbon for finishing touches
Neutral takeaway: The tools weren’t overly expensive, but if you don’t already own a scroll saw, the investment might not be worth it for just one project.

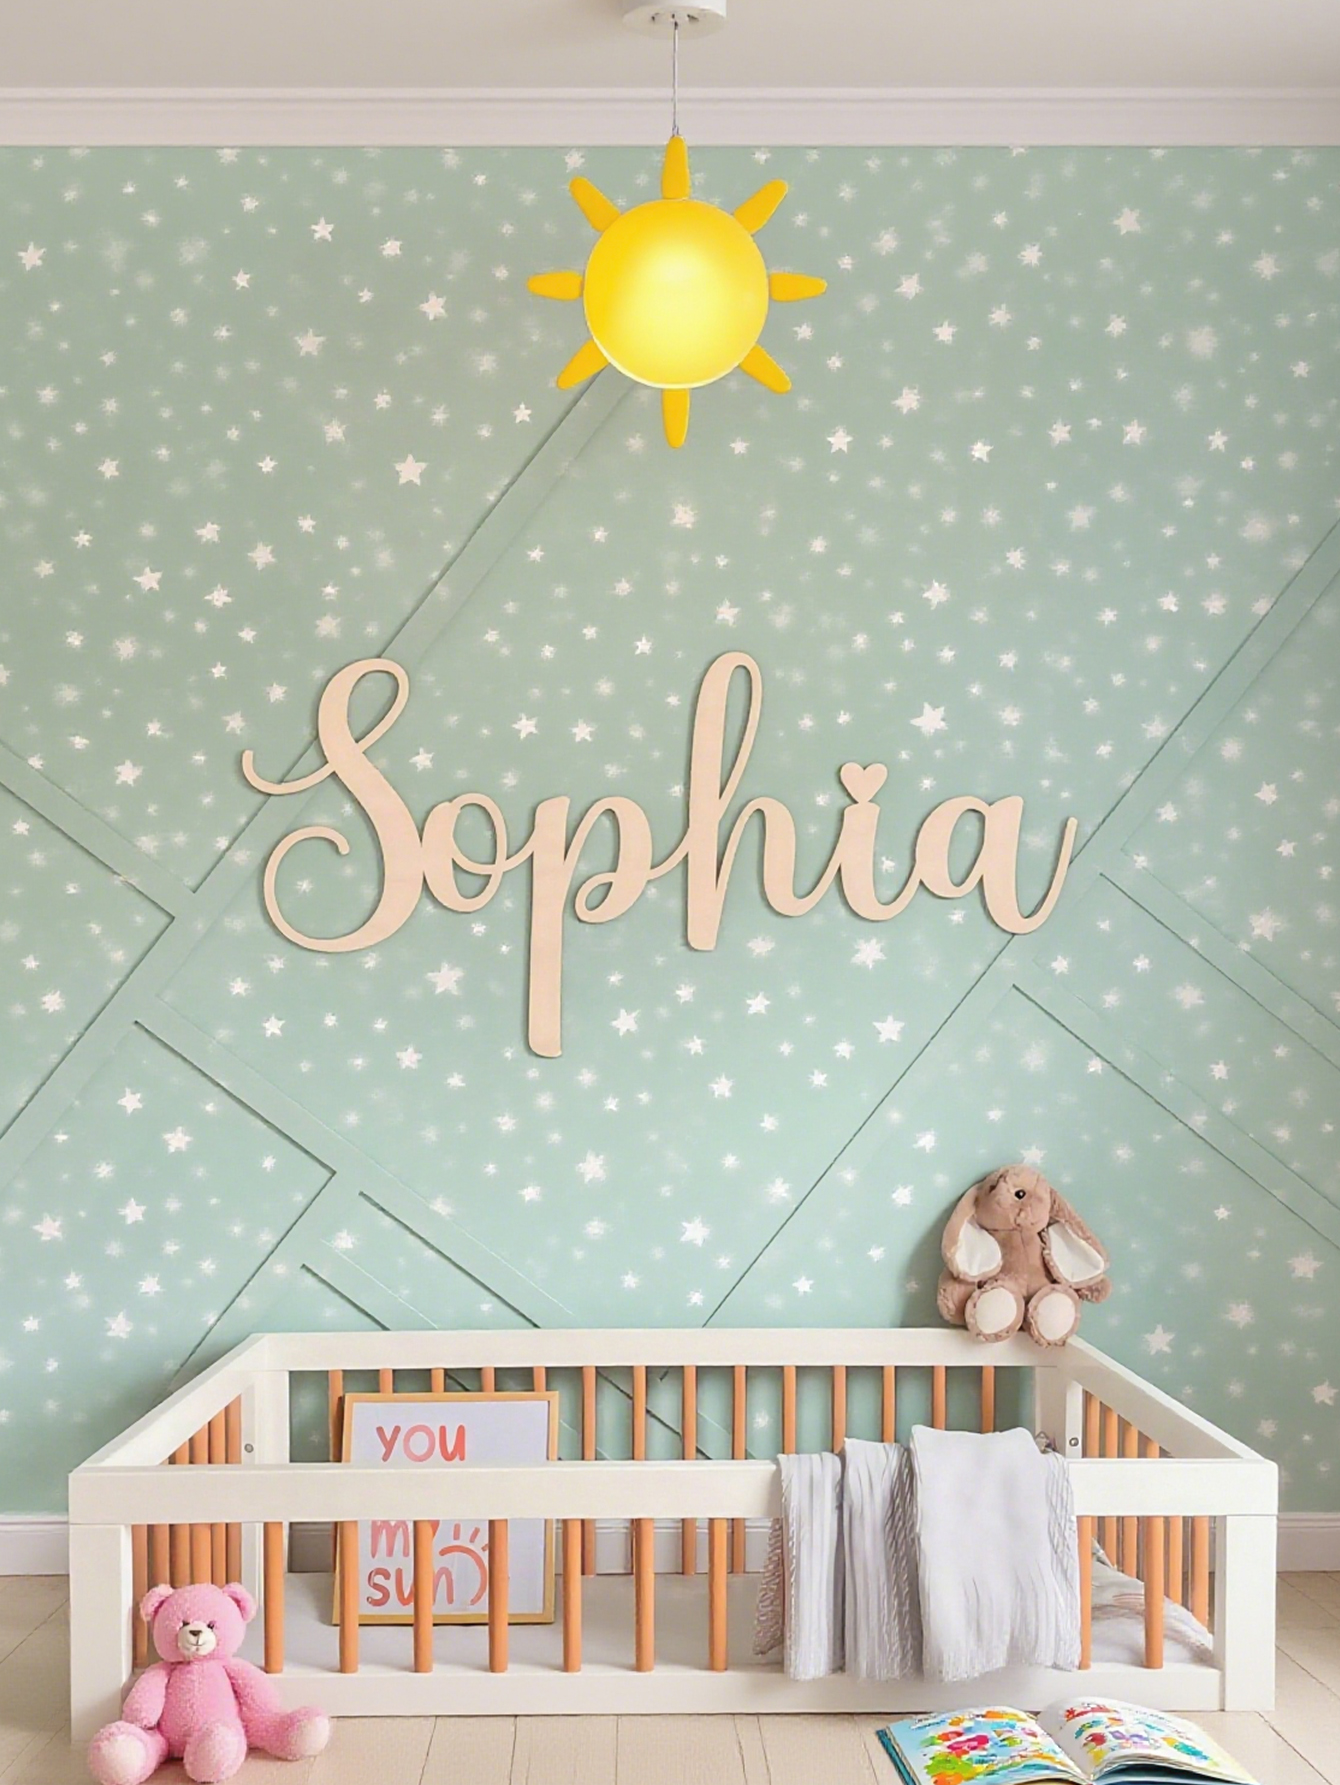
Step 1: Designing the Name
I started by typing the name in Word, setting it to a bold font like Cooper Black, and printing it large enough to fit my piece of wood. Choosing a font matters more than I expected—thin, fancy fonts are harder to cut and more fragile.
What I liked: It was fun picking fonts and seeing how different styles completely changed the feel of the sign.
What I didn’t like: Some fonts looked beautiful on paper but were nearly impossible to cut without breaking the wood. I wasted one piece by being too ambitious.
Step 2: Transferring the Design to Wood
I used spray glue to stick my paper design onto the wood. This step was simple but a little messy—the adhesive sticks everywhere if you’re not careful. Lining the letters up with the wood grain made the final piece look better.
Step 3: Cutting the Letters
This was the hardest part. For letters with enclosed spaces (like “O” or “A”), I drilled small holes, then fed the saw blade through to cut them out. For the outline, I switched to a larger blade.
What I liked: Cutting smooth curves with the scroll saw was oddly satisfying. It felt like drawing with a blade.
What I didn’t like: The blade broke twice. It wasn’t dangerous, just frustrating. Also, small details were tricky—the thinner parts of letters sometimes chipped.
Step 4: Sanding and Finishing
After peeling off the paper template, I sanded the edges with fine grit sandpaper. This step made a huge difference—without sanding, the sign looked rough and splintery.
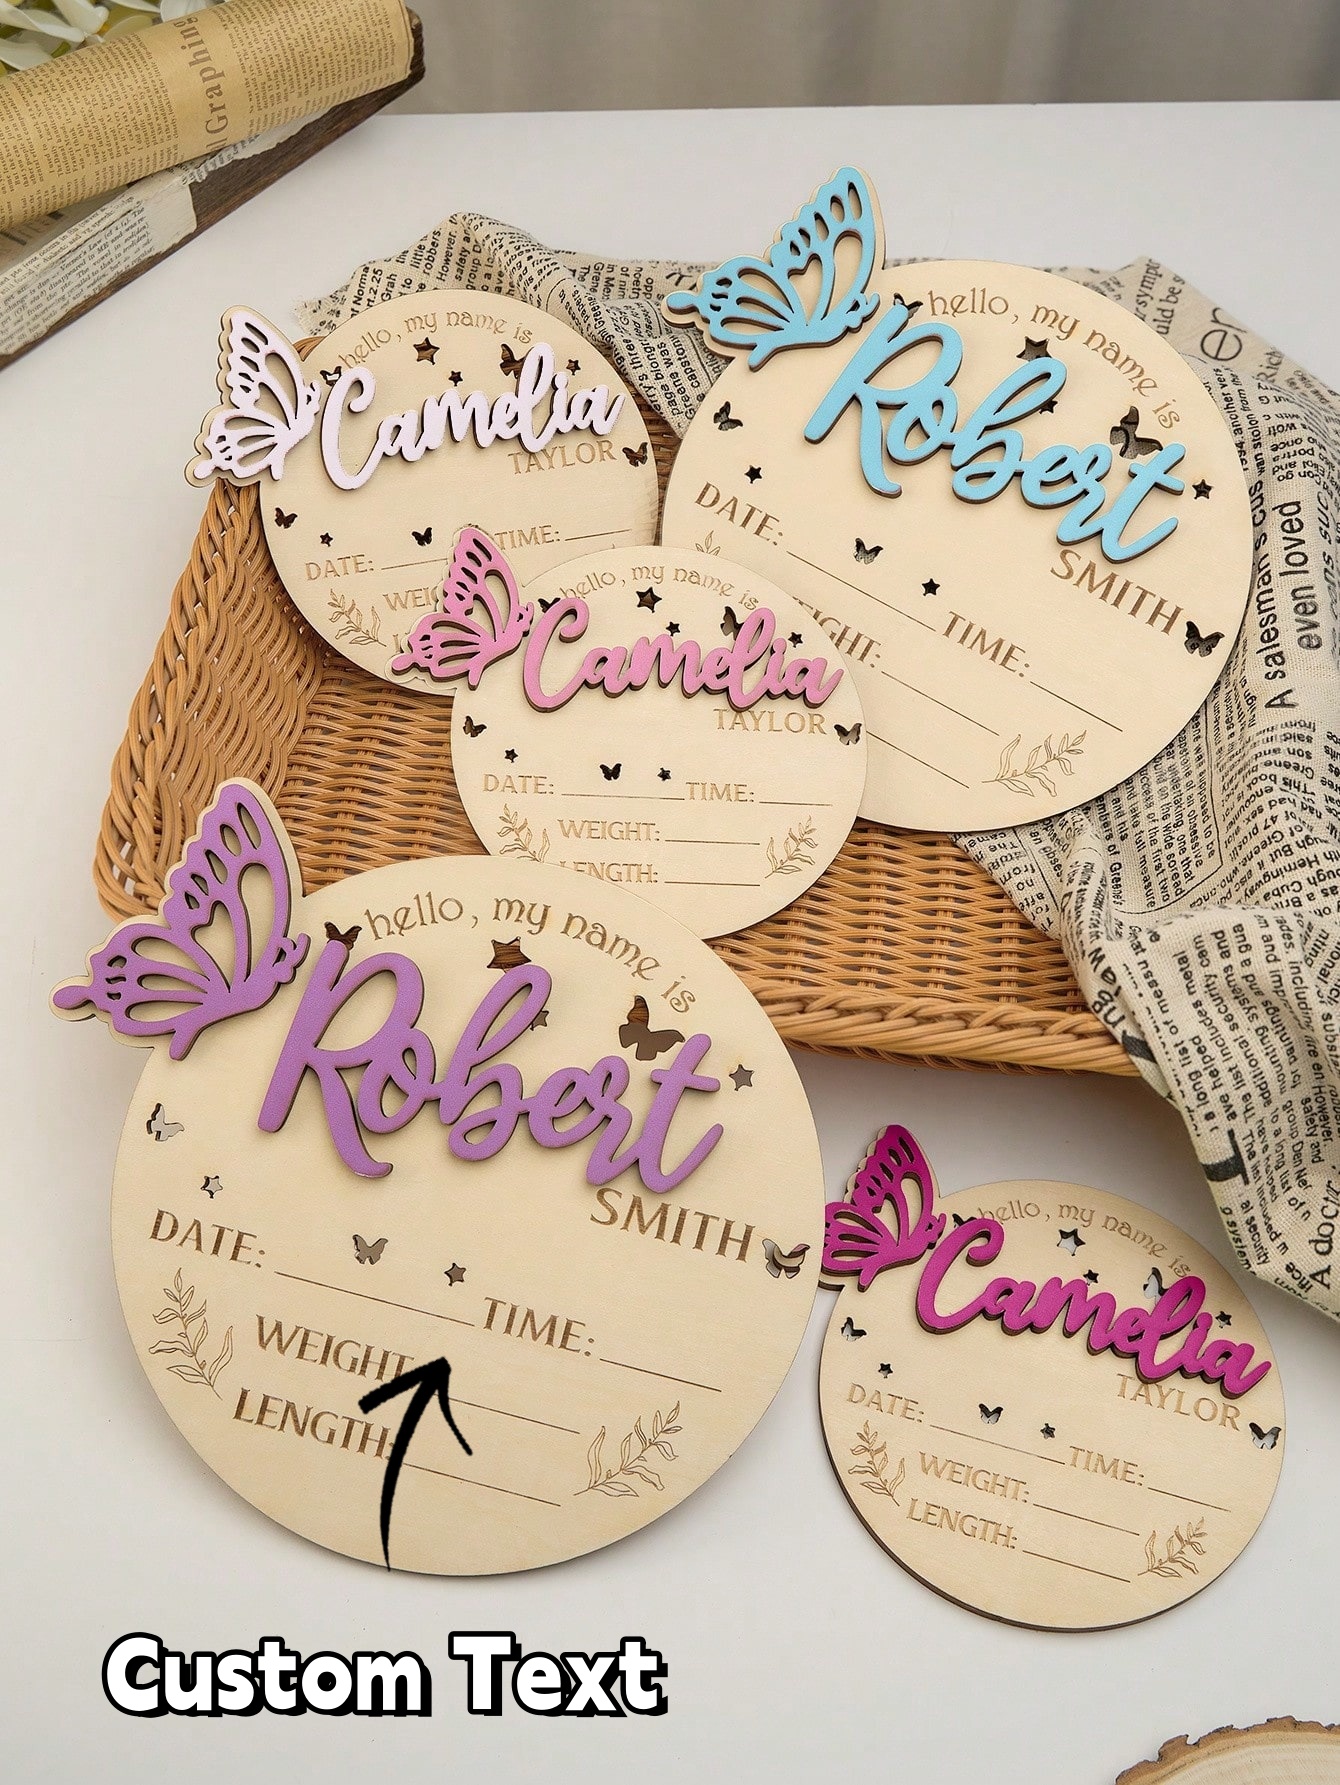
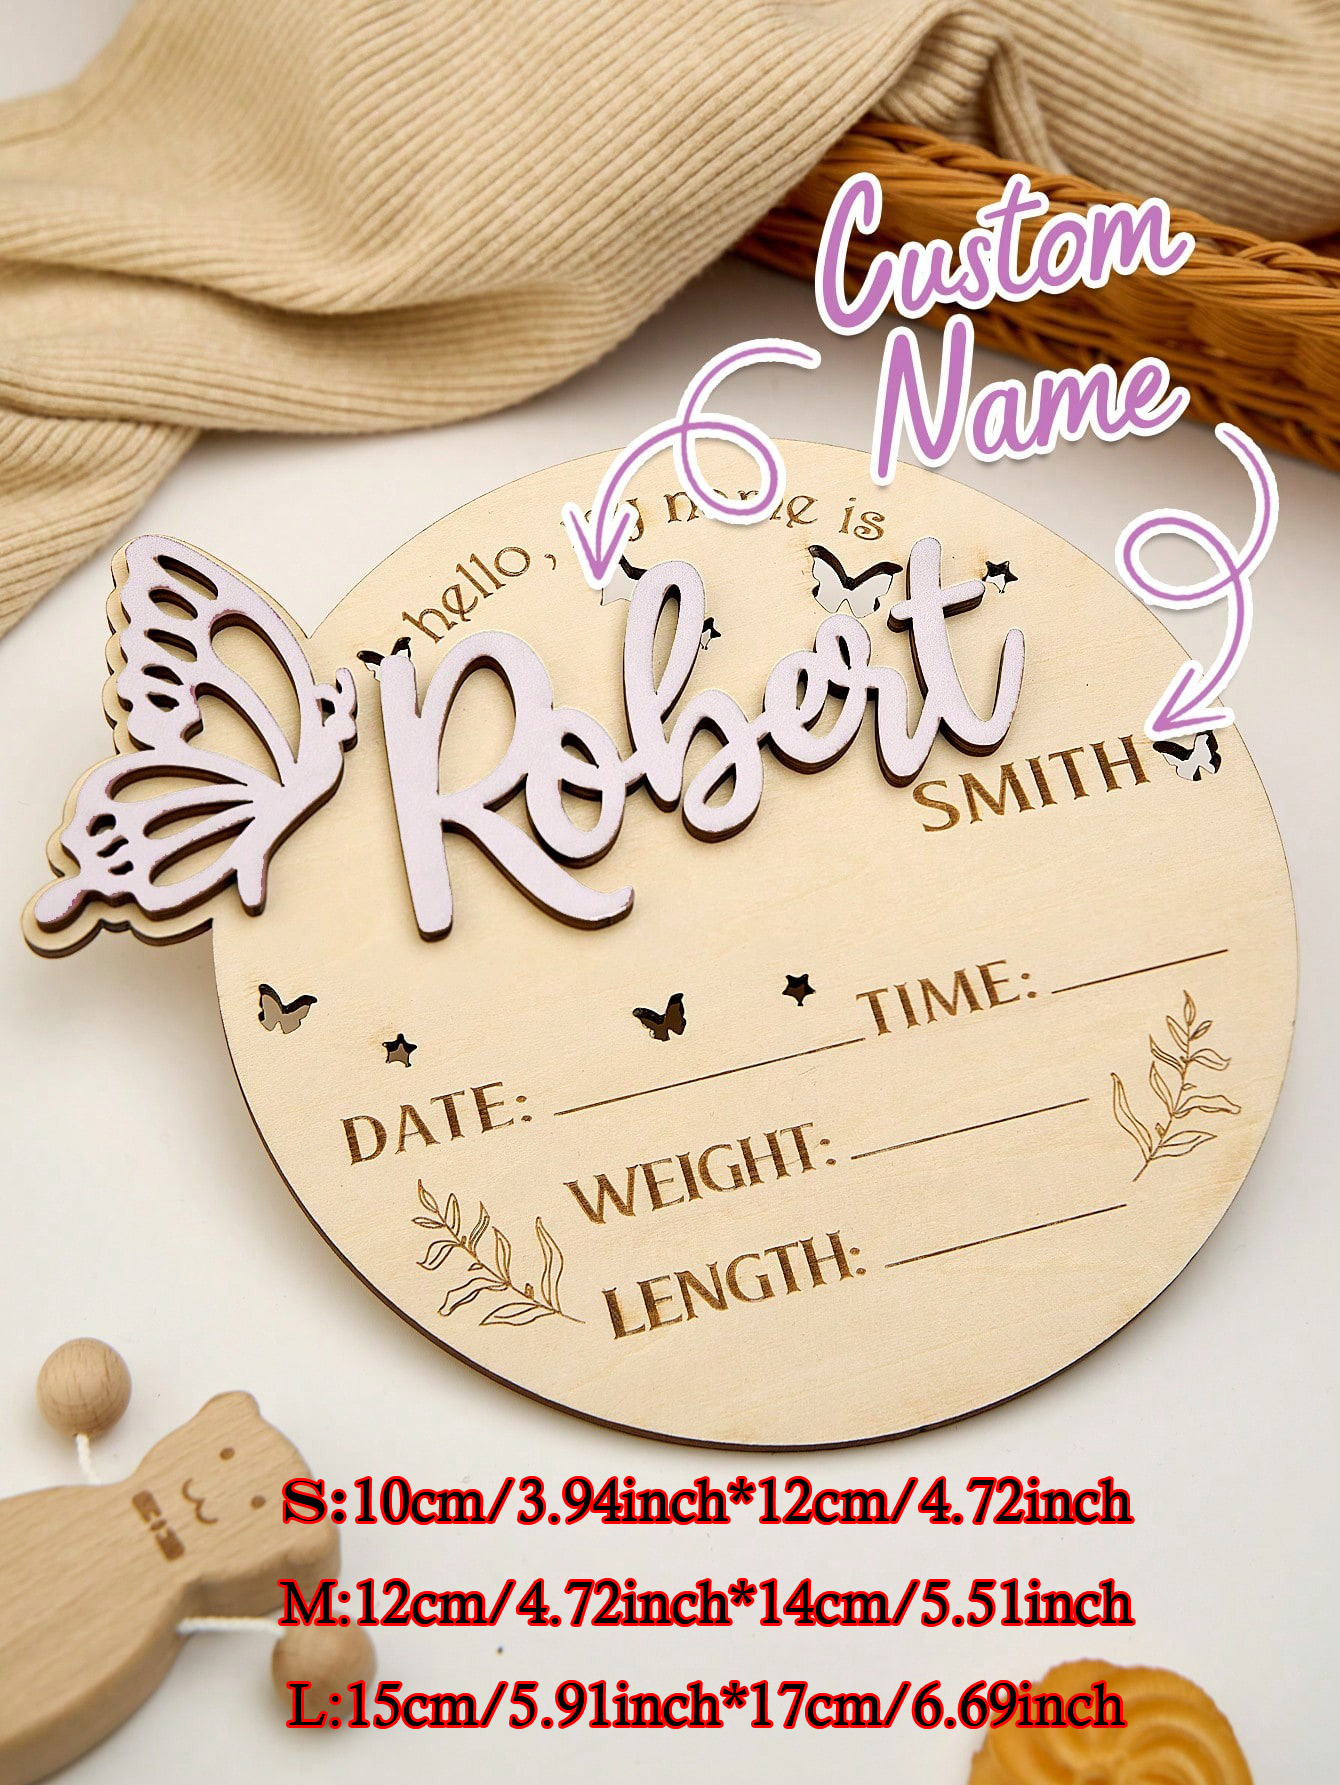
For finishing, I tried two approaches: one sign was left natural with just sanding, and another I painted in soft pastel colors.
Observation: Paint gave the piece a polished, decorative look, but I personally preferred the natural wood finish. It felt more authentic.
Step 5: Adding Extras
For one sign, I glued a ribbon to the back so it could hang on a door. This was easy and made it look gift-ready.
Downside: If you use hot glue, it can look a little sloppy from the back. A small detail, but it bothered me.
What I Learned
-
Patience matters. Rushing caused mistakes and blade breaks.
-
Font choice is key. Thick, bold fonts are best for beginners.
-
Durability varies. Thin or delicate parts of letters can snap if handled roughly.
-
Finishing makes or breaks it. Sanding and painting (or staining) is what separates a professional-looking sign from something that looks homemade.

Final Verdict – Is It Worth Making Your Own?
If you enjoy DIY projects and already have some tools, making a custom wood name sign is rewarding and personal. The finished product feels much more meaningful than buying one online.
However, if you don’t have a scroll saw or the patience to deal with blade breaks and sanding, it might not be worth the hassle. Custom signs can be ordered from Kstom or craft shops for a fair price, and those will usually look cleaner.
For me, though, the handmade imperfections actually gave the piece more charm—something you can’t buy.