How to Make a Custom Trophy (Step-by-Step, With Real-World Tips)
1) Start with the “why,” the “who,” and the story
Before you sketch anything, answer three simple questions:
-
What is the award for?
Name the achievement or milestone. Sales champion, safety record, design breakthrough, community impact—be specific. The theme will drive the shape, iconography, and tone. -
Who is receiving it?
A single person, a rotating “traveling” trophy, or a team award?-
Individual: add personal touches (favorite color, role symbol, department motif).
-
Traveling: keep colors and shapes neutral and timeless.
-
Team: show collaboration with multiple elements, intersecting forms, or layered materials.
-
-
What story should the trophy tell at a glance?
Aim for a silhouette that “reads” the story even before anyone reads the plate. If it’s about innovation, consider forward-leaning angles or a light-burst motif. For service or longevity, use solid bases, columns, or rings to suggest stability and continuity.
2) Translate the story into shape, scale, and balance
Now sketch. Keep three design principles in mind:
-
Silhouette first. If you fill the design in black, does the outline still communicate the idea? Strong silhouettes photograph well and look great from across a room.
-
Scale and balance. A trophy that’s too tall for a narrow base looks wobbly; a heavy top needs a wider footprint. Place the center of gravity low enough that it feels substantial but safe.
-
Hierarchy. What should the eye see first (icon/shape), second (title), third (name/date)? Arrange elements to support that flow.
Practical tip: print your sketch small and big. If it works at 2 inches tall (for web thumbnails) and at 12 inches tall (on a shelf), you’re on track.
3) Choose the right medium
Different materials send different messages and affect cost, lead time, and weight. Mix and match thoughtfully.
-
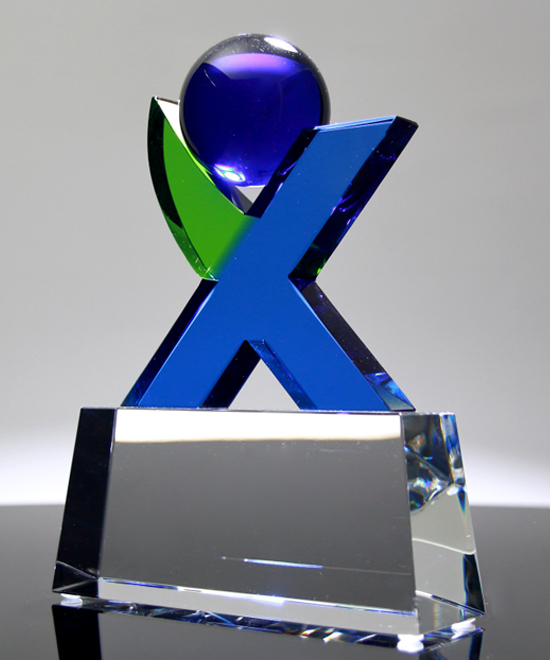
Acrylic: Lightweight, impact-resistant, cost-effective, and easy to shape. You can laser-cut custom silhouettes, print vivid color, and embed gradients or textures. Great for bold colors and modern shapes.
-
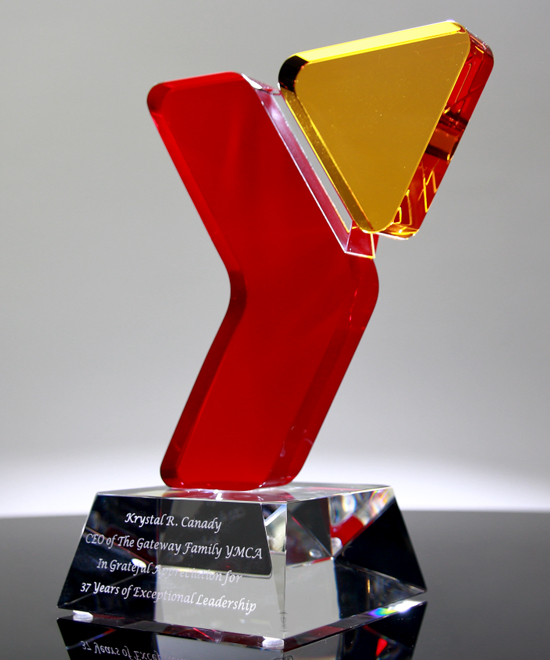
Crystal/Glass: Heavier, premium feel, excellent clarity, and scratch-resistant. Works beautifully with bevels and internal reflections. Ideal for formal recognition and longevity.
-
Metal (aluminum, brass, stainless): Durable, crisp edges, and a high-end look with brushed or polished finishes. CNC machining or waterjet cutting can produce precise emblems and badges.
-
Wood: Warm, sustainable vibe. Laser engraving looks rich on walnut, cherry, or maple. Pairs nicely with metal or acrylic accents.
-
Resin/3D print: Perfect for complex, organic shapes (mascots, figurines, textures). You can mold, paint, or plate for unique effects.
Rule of thumb: if you want vibrant color and custom shapes fast, start with acrylic. If you want “heirloom” weight and sparkle, consider crystal. For a modern, corporate look, combine brushed metal with clear acrylic or glass.
4) Color, finishes, and branding—without turning it into an ad
Include brand identity in a way that supports the story, not just the logo:
-
Color strategy: use brand colors as accents (edge-lit acrylic, back-printed gradients, enamel-filled text) rather than flooding the whole piece.
-
Logo placement: small on the base, etched into a corner, or integrated into the negative space of the silhouette.
-
Surface finishes: mix matte and gloss to create depth; use sandblasting for frosted layers; consider brushed metal for sophistication.
Keep it tasteful; the recipient should feel honored, not “branded.”
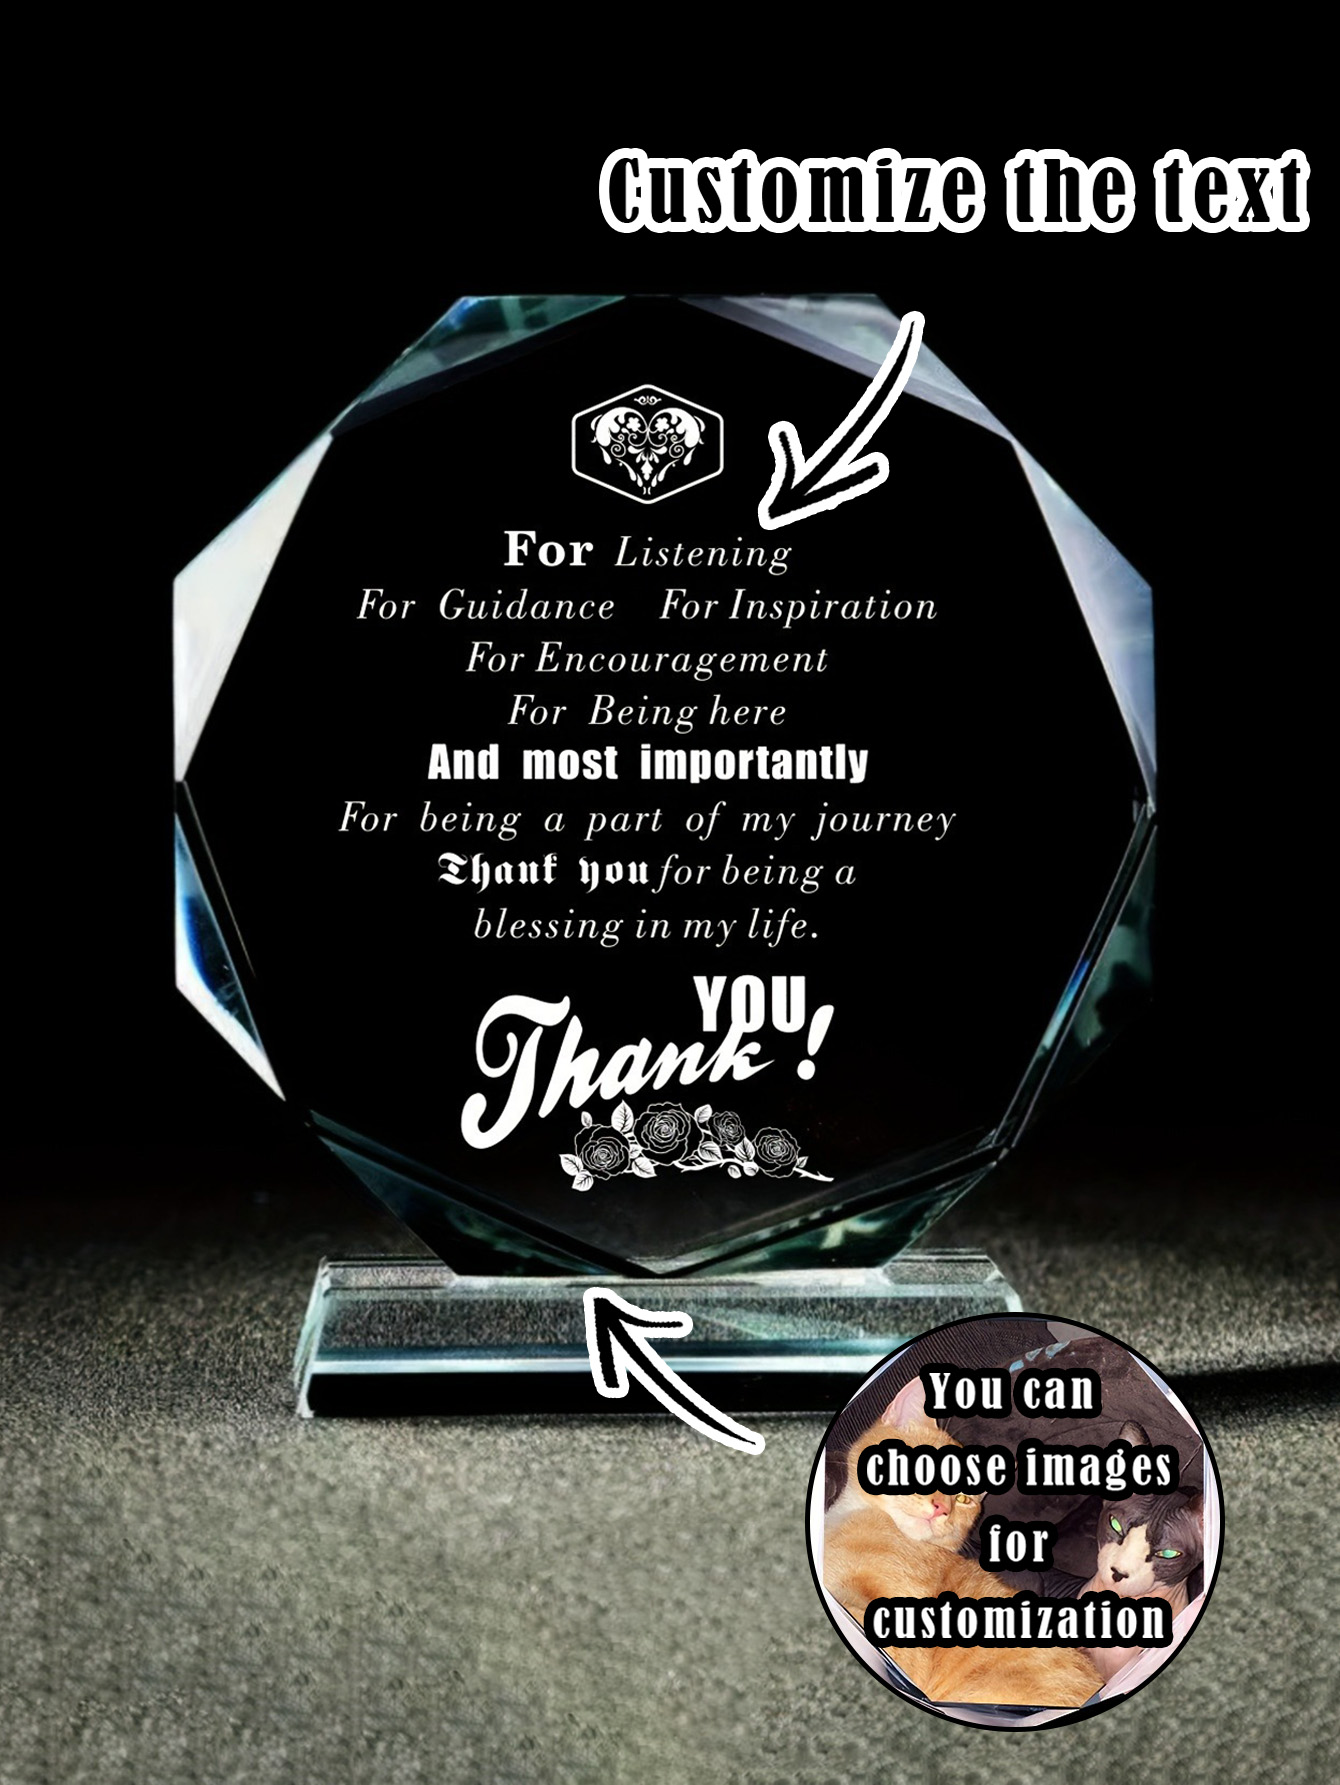
5) Words that matter: title, message, and names
Short text beats long text. Plan three lines:
-
Award title (clear and specific): Innovation Award 2025
-
Recipient: Ari Patel
-
Message (one meaningful sentence): “For turning bold ideas into real impact.”
If space allows, a short quote or value statement can elevate the piece. Tie the message to the reason for recognition and the culture you want to reinforce.
6) Pick fonts that read well at trophy size
Fonts carry tone and affect legibility:
-
Formal/professional: Trajan, Garamond, Times New Roman, Helvetica.
-
Modern/tech: Gotham, Avenir, Montserrat.
-
Celebratory/script (use sparingly): Alex Brush, Black Jack—best for a single word or signature.
Legibility check: shrink the text to the actual engraved size on screen and print a quick proof. If you can’t read it easily, pick a simpler font or increase size/contrast.
7) Plan your fabrication method
Your design and material will determine how you build it. Common methods include:
-
Laser cutting/engraving (acrylic, wood, coated metals): precise shapes, clean edges, frosted engravings, quick turnarounds.
-
CNC machining (metals, hardwoods): crisp pockets and contours, excellent for badges, medallions, or bases.
-
Waterjet cutting (metals, stone, thick acrylic): complex shapes with minimal heat.
-
Sandblasting (glass/crystal): deep, elegant etch for logos and text.
-
UV color printing (acrylic, coated metals): full-color artwork, gradients, and photo-quality graphics.
-
Casting or 3D printing (resin/metal): for mascots, figurines, or highly organic forms.
Often, the best results come from hybrids—for example, a brushed metal emblem mounted on a clear acrylic panel with a wood or crystal base.
8) Build a digital mockup and a quick prototype
Don’t skip this—small mistakes get expensive later.
-
Digital render: Lay out exact dimensions, materials, colors, and text placement. Add shadows to preview depth and finishes.
-
Prototype options:
-
Paper/cardboard mockup for scale and silhouette.
-
3D-printed or resin maquette to test balance and details.
-
Material swatches for finish and color approval.
-
Use the prototype to check: stability, edge comfort (no sharp corners), engraving contrast, and read distance.
9) Assemble, finish, and detail
When you’re ready to build the final:
-
Edges: flame-polish acrylic edges for a glass-like look; chamfer or round sharp corners for safety.
-
Bonding: use clear, non-yellowing adhesives for acrylic; mechanical fasteners or stand-offs for metal-to-acrylic layers.
-
Alignment: create simple jigs so badges, plates, and layers line up perfectly every time.
-
Protective layers: apply removable film to keep faces pristine until presentation.
Quality checklist: wobble test, fingerprint check, scratch scan under bright light, and a final read-through of every character.
10) Size, weight, and ergonomics
A trophy should feel substantial but not awkward:
-
Height: 8–12 inches is a sweet spot for desks and shelves.
-
Weight: lighter materials for traveling awards; heavier bases for “lifetime” or legacy awards.
-
Grip and edges: recipients will pose with it—make sure it’s comfortable to hold and safe.
11) Sustainability and longevity
Recognition and responsibility can go together:
-
Material choices: FSC-certified wood, recycled acrylic/metal where possible.
-
Modular designs: use replaceable name plates so the main body lasts for years.
-
Finish durability: prefer engravings and anodized/brushed finishes over fragile coatings.
12) Presentation that feels special
Even the best trophy underwhelms if it’s tossed in a plain box. Add:
-
A fitted insert (foam or molded pulp) to protect the piece.
-
A simple card with the award’s meaning.
-
A microfiber cloth for crystal or acrylic trophies.
If it’s a team ceremony, design a consistent reveal moment—lighting, short intro, a photo spot—so the memory matches the object.
Common pitfalls to avoid
-
Overcrowding the message. One strong line beats a paragraph.
-
Tiny script fonts. They look elegant in Illustrator but vanish when engraved.
-
Top-heavy designs. Test stability early.
-
Brand overload. Subtle branding looks classier and keeps the focus on the person or team.
-
Skipping prototypes. A 30-minute mockup can save a week of rework.
Quick starter blueprint (steal this)
-
Define the award’s purpose and recipient type.
-
Sketch three silhouette ideas that tell the story without words.
-
Pick a material combo (e.g., brushed aluminum emblem + clear acrylic panel + walnut base).
-
Write the title, name line, and one-sentence message.
-
Choose a readable font pair (e.g., Trajan for title, Helvetica for names).
-
Create a precise digital mockup with dimensions and finishes.
-
Make a cardboard or 3D-printed prototype; adjust balance and legibility.
-
Fabricate using laser/CNC/UV print/sandblast as needed.
-
Assemble, polish edges, and run a quality checklist.
-
Package with a fitted insert and a short meaning card.
Final thought
When you make a custom trophy, you’re shaping culture as much as material. The shape says what you value; the message says what you noticed; the finish says how much you care. Keep the story front and center, choose materials that reinforce it, and sweat the details. The result won’t just sit on a shelf—it will keep the moment alive.