How Do You Make Custom Stickers? A Complete Guide
Step 1: Create Your Design
Before anything else, you need your sticker art. Many artists use:
-
Procreate on iPad – popular for digital illustration.
-
Adobe Illustrator/Photoshop – for detailed vector or photo-based designs.
-
Free tools like Canva or GIMP – beginner-friendly options.
Once your design is ready, export it as a high-resolution PNG (with transparent background) or JPEG. This format works with most printing and cutting software.
Step 2: Choose the Right Printer
The printer is one of the most important parts of sticker making. A standard home inkjet printer can work, but the results vary depending on your needs.
-
Inkjet Printers (Canon, Epson, HP): Affordable, produce vibrant colors, great for indoor stickers. Epson EcoTank and Canon TS series are favorites among sticker makers.
-
Laser Printers: Better for crisp text and bulk printing, but not ideal for certain specialty sticker papers like vinyl.
-
Sublimation Printers: Professional-grade quality and durability, often used for outdoor stickers or merchandise.
If you’re just starting, a reliable inkjet printer with good color accuracy is usually the best choice.
Step 3: Pick Your Sticker Paper
This is where your stickers get their personality. Different paper types give different finishes and durability:
-
Matte paper: Soft, smooth finish, great for planners and journals.
-
Glossy paper: Shiny finish that makes colors pop.
-
Vinyl paper: Waterproof, durable, perfect for outdoor use.
-
Holographic or specialty films: Adds rainbow shimmer or metallic effects.
Brands like Online Labels and Avery make weatherproof sticker paper that holds up well. If you’re experimenting, buy small packs of different finishes to see what works best.
Step 4: Print Your Stickers
Load your chosen sticker paper into the printer, making sure the settings match:
-
Select the “Best” or “High Quality” print mode.
-
Adjust paper type settings (e.g., glossy photo paper if using glossy sticker sheets).
-
Do a test print with a color wheel to check how your printer handles different shades.
Pro tip: Let the ink dry completely before touching the sheet to avoid smudges.
Step 5: Laminate for Protection
Not all stickers need lamination, but if you want them to last, adding a protective layer is worth it.
-
Cold laminating sheets (like Avery or XFasten): Peel and stick clear sheets over your design.
-
Heat laminators: Use laminating pouches with heat — better for professional results.
-
Specialty overlays: Holographic or glitter laminate sheets create unique finishes.
Lamination prevents scratches, adds water resistance, and keeps colors from fading in sunlight.
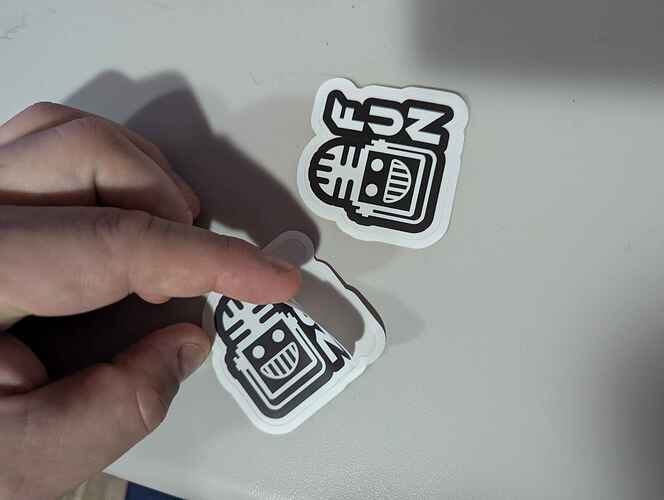
Step 6: Cut Your Stickers
There are two main ways to cut stickers:
-
By Hand
-
Use scissors or a craft knife.
-
Works for small batches or simple shapes.
-
Cheap and easy, but not ideal for complex designs.
-
-
With a Cutting Machine
-
Cricut or Silhouette are the most popular options.
-
These machines cut precise shapes using your digital cut lines.
-
Perfect for die-cut stickers, kiss-cut sticker sheets, or bulk orders.
-
Many makers prefer Silhouette Cameo or Portrait models, while Cricut Maker is great for multi-material projects.

Step 7: Try Specialty Stickers (Optional)
Once you master the basics, you can experiment with creative styles:
-
Holographic Stickers: Print your design on regular sticker paper, then apply a holographic laminate on top.
-
Waterproof Stickers: Use vinyl sticker paper, laminate, and pigment-based ink. These can handle water bottles, cars, and even dishwashers.
-
Clear Stickers: Print on transparent vinyl sheets for a sleek look.
Some makers outsource specialty stickers (like true outdoor holographics) to professional printers to save on costs and equipment.
Step 8: Package Your Stickers
If you’re planning to sell or gift them, presentation matters. You can:
-
Use clear protective sleeves.
-
Create branded backer cards.
-
Store them flat to avoid curling.
Good packaging not only protects stickers but also makes them look more professional.
DIY Shortcut: Stickers Without Fancy Gear
If you’re not ready to invest in printers and cutters, there are simple ways to make stickers at home:
-
Packing tape method: Print or draw your design, cover with clear tape, stick it onto parchment paper, and cut it out. Peel the backing when ready.
-
Order online: Upload your design to kstom and you can get the stickers you want without any effort.
Final Thoughts
So, how do you make custom stickers? It really depends on your goals. If you’re experimenting for fun, start simple with printable sticker paper, scissors, and maybe a laminating sheet. If you want to launch a sticker shop, investing in a quality printer, cutter, and vinyl materials will give you professional results.
No matter the method, the process is rewarding. You take your digital art and turn it into something physical that people can touch, use, and show off. That’s the magic of custom stickers.